Hello lovelies,
Did you have a fabulous weekend? It’s been pretty much raining no stop. It actually just stopped raining long enough for us to do parkrun. I don’t mind the colder weather at all but gosh this rain! I know we really need it but it would really do more good if it rained inland and for realsies, nothing dries!!! Add to that, yesterday we had no electricity for what felt like 6 days but was more like 6 hours. It was more inconvenient than problematic. You know you have your routines and then something small can throw the whole thing off. Anyway, other than that it was a pretty decent weekend 😀
I have some nail art to show you that is actually a bit of a fail but I had to show you anyway. For 2 reasons. 1 – You HAVE to see how stunning the original inspiration is and 2 – when I do manage to nail it you can see how much I have improved and think I am amazing. It might take another 5 years but when that happens……. 😛
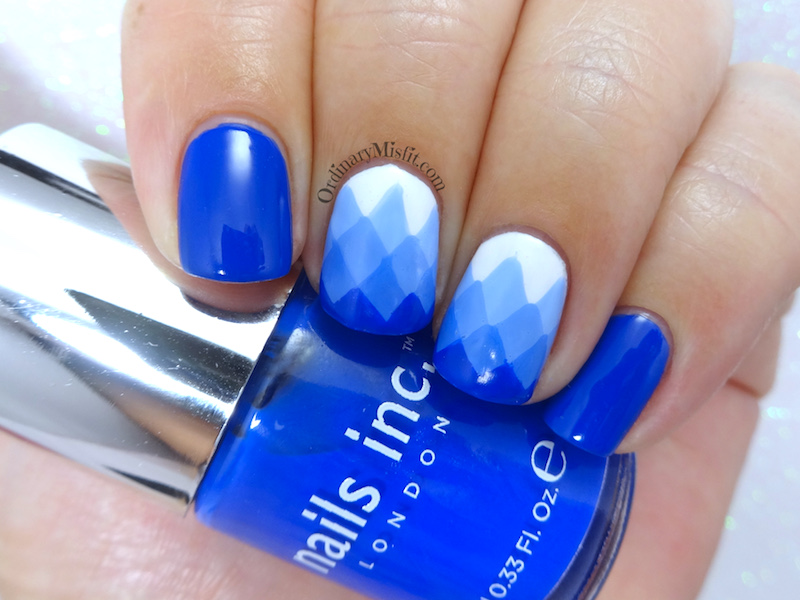
I’ve been seeing this ‘technique’ and going back though it all it would seem that it all starts with Julia. You can have a look at her instagram video to see how she does it. Let me just say this. It’s basically freehand which I suck at! It is just too gorgeous not to try so I did. I still sucked though but let me know you my 1st version before telling you where I made my mistakes so that you don’t do them too.


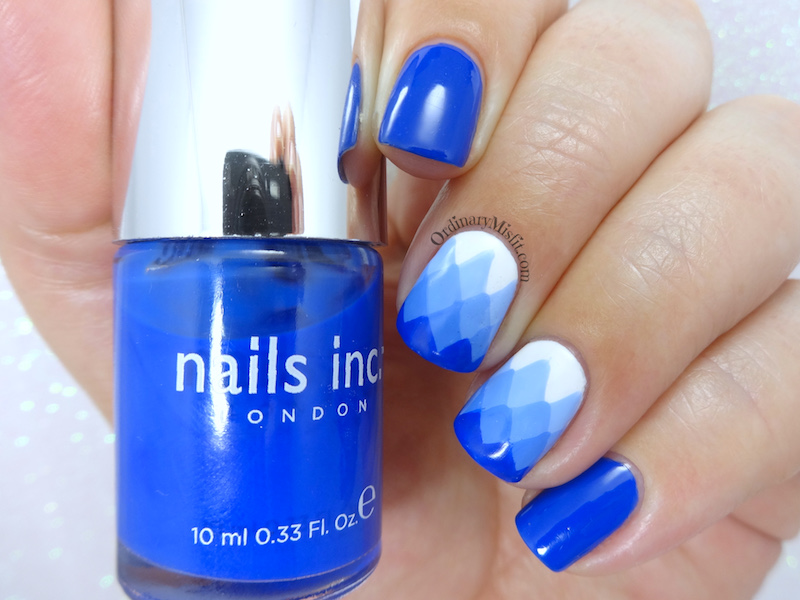
Ok, on my pinky and index I just had 2 coats of Nails Inc – Baker st with topcoat. On my middle and ring finger I started with 2 coats of Essence – Wild white ways and left that to dry completely. I then used a thin nail art brush to get to work the way it went in the video. Here was my first mistake. In the video she uses one colour and mixes it varying amounts of white polish to get the colour going from light to darker. I am not sure if it was just the colour I used but I had a hard time getting the colour to go darker enough to be a difference but not too dark. I couldn’t mix a large amount so that I could just add more of the polish because it would become thick and gloopy as it dried. This just make it harder to use with a brush. Because of this, I can see the colour gradient isn’t as great as it could be. I am not sure if maybe Julia used acrylic paint, which is an option. I suspect it would be easier for me if I just used different polishes that were in a scale from light to darker. My second mistake was that I suck with freehand. My lines aren’t straight enough and I don’t think my spacing is even enough. Combined with the colour not being perfect it really highlights how not perfect it is. Once I had done the 4 rows ending with just Baker st, I topcoated and wondered if I really should share this. 😉
Like I said, I feel like the original video is something you just have to see and I wanted to show my attempt. It isn’t anywhere near perfect but I am going to practice a little bit and I will be back soon with another attempt where I work on the mistakes I know I made. I just need to decide if it will be pink, green or blue again. What do you think? Do you think I should try it again? Do you have a colour idea? Or maybe you have tried this already? I’d love to see if you have so leave me your links or tag me on social media! I hope my sucky freehand skills don’t scar you too much 😉
Thanks for reading,


Dude! You are way too hard on yourself. I think yours looks amazing! Especially for a first try.
Hahaha You are so kind! If you see the original you will know mine is lame 😛 But thank you SO much! xx
Are we looking at the same Mani? Yours looks amazing!! I do not have the patience for this but it is such a brilliant idea
Ah thank you so much Renita. You know, patience isn’t really my strong suit either 😉
I think your mani turned out awesome!
Thank you so much Sarah! x
You’ve made your nails look like they are faceted! Beautiful job.
Thank you so much Kathleen. I wish I could get it spot on but I appreciate the love xx